 Skip to content
FOR SALONS, STYLISTS & HAIR BRANDS
PLUCHARM / PROFESSIONAL BUYING GUIDE
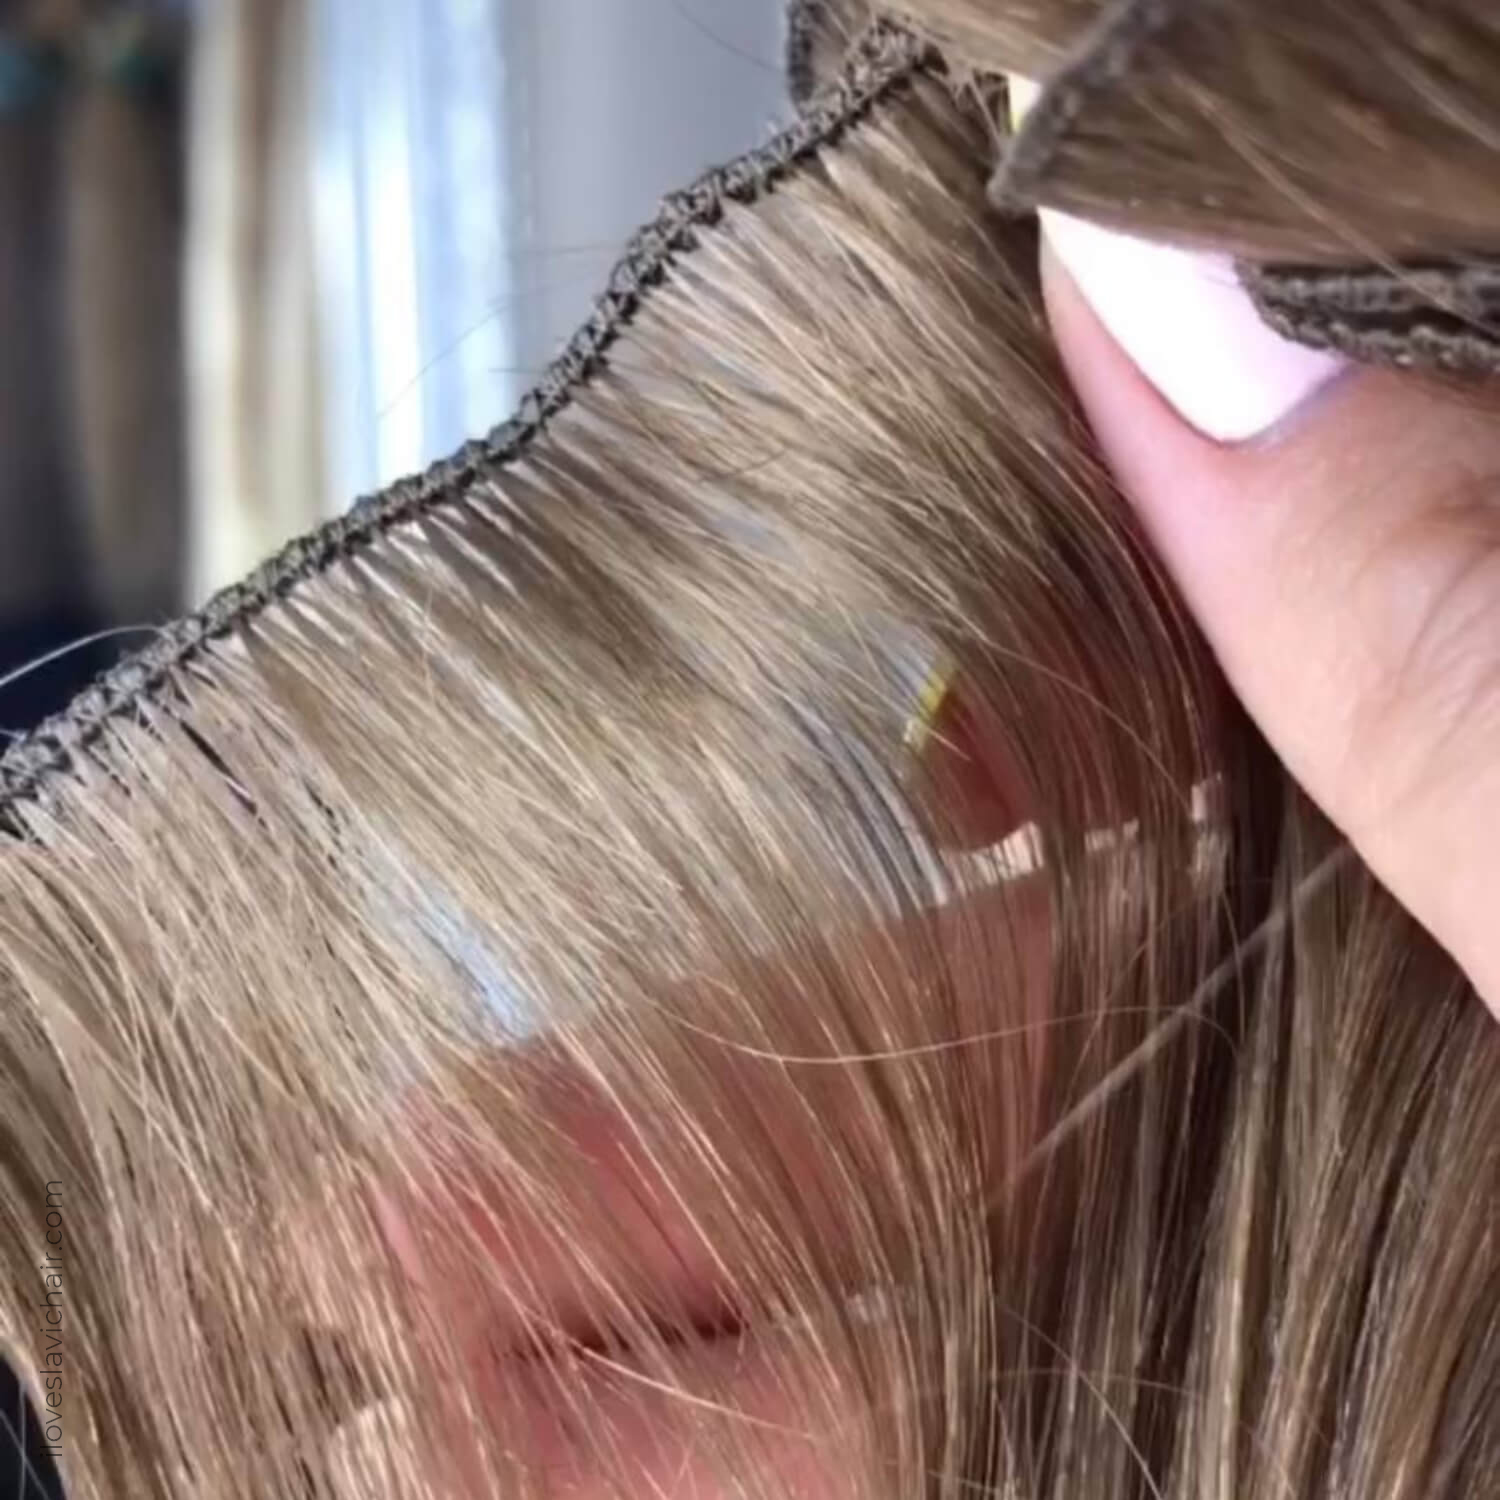
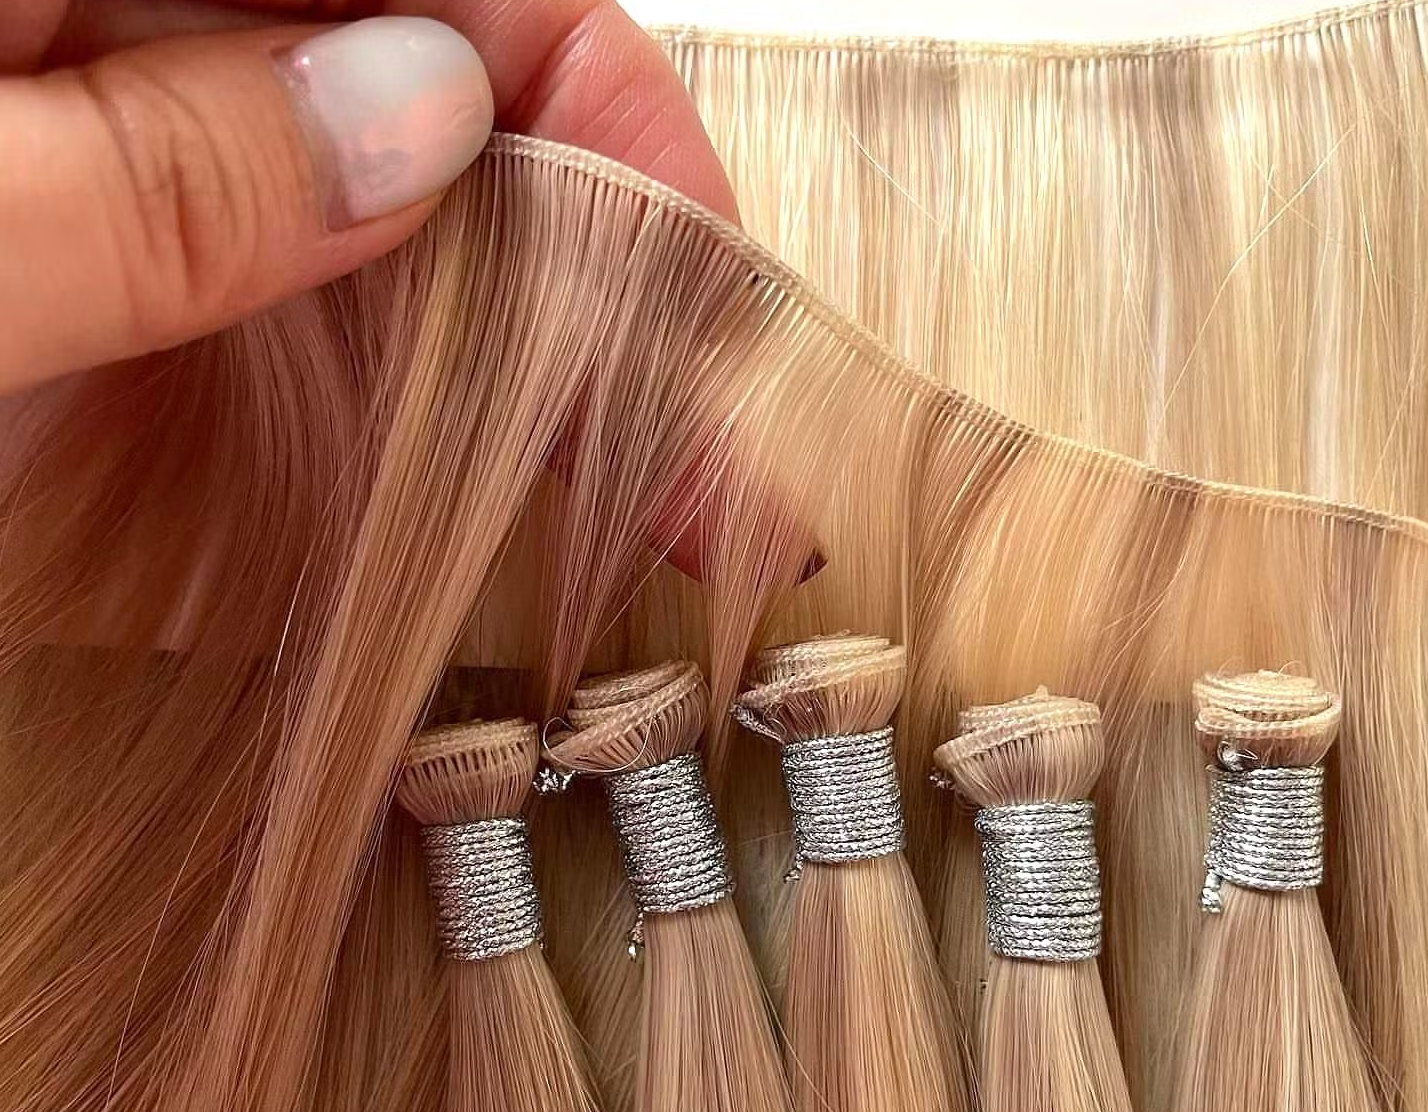
A weft stays in place because the load is spread across a row of scalp rather than pinned at a few points, and because the section under it is cut wide enough to carry that load without pulling. Tension that feels secure in the chair is usually too much: the row should sit flat with the scalp lifted slightly, not tight.
Every installed row transfers weight to the scalp through three things: the seam, the anchor (stitch, tape or bond), and the section of hair held inside it. Change any one and the other two take more load. A heavy row on a narrow section loads the anchors. A wide section with a light row loads nothing and slides.
Understanding this explains most of the failures clients describe as the extensions “not holding”. The hair did not stop gripping. The load moved to a place that could not carry it, usually the edge of the section, and the row began to rotate from that corner.
The practical consequence is that installation is a weight distribution exercise before it is a technique. Decide how many rows, how much weight on each, and how wide each section is, then install to that plan.
Sections should be horizontal, about 1 cm deep, and at least 4 cm wider than the row on each side so the row never sits on a section edge. On a curved head, a straight section line crosses more hair at the sides than at the back, which is why side rows need to be shorter rather than tighter.
Parting the section cleanly matters more than most installers expect. Hair left in the section line gets trapped under the seam, and trapped hair pulls at the follicle every time the client turns her head. That is the source of the sore spots that appear on day three, not the weight itself.
Rows should sit 2 to 3 cm apart. Closer spacing concentrates weight on a narrow band of scalp and reduces the air movement that keeps the scalp comfortable. Further apart leaves the hair between rows unsupported and creates a gap that shows when the hair moves.
After anchoring a row, slide two fingers under the seam at three points: the centre and both ends. They should pass with light contact. If the seam lifts the scalp into a ridge, it is too tight. If the fingers pass with no contact at all, the row will drop within a week.
Check again after the client has turned her head twice. Tension that is correct at rest can become tight in movement, and the correction is cheaper now than after a night’s sleep. On tape formats, press the base for 30 seconds with the back of a comb rather than fingers, because finger oil weakens the adhesive.
Clients should be told what correct tension feels like: present, not gripping. A client who expects to feel nothing will report a correctly fitted row as loose, and a client who expects tightness will accept a row that should have been removed.
Four causes account for most slipping. The section was too narrow, so the anchor had too little hair to hold. The row was cut from a longer weft and the cut edge was not sealed, so the row lost width as strands escaped. The client’s own hair was conditioned at the root before fitting, which leaves a film that tape cannot bond to. Or the row was installed on wet hair, and the section shrank as it dried.
Each cause has a different fix, and they are worth separating before the client’s second visit. A row that slipped from a narrow section needs a wider section and possibly less weight. A row that shed from the cut edge needs the edge finished at the factory or in the chair. Product build-up needs a clarifying wash and a dry root before the next fitting.
Keeping the row width, cut-edge finish and installation date in the client record turns this from guesswork into a comparison.
A row that is removed badly costs more than a row that is installed well saves. For tape, use a proper remover and let it work for the stated time before peeling from the bottom edge, never from the top. For bonds, use the solvent and crush rather than pull. For sewn rows, cut the thread at the anchor points and lift the row away instead of sliding it down the hair.
Roughly 20 minutes of patient removal preserves the section of hair that the next installation depends on. Pulling a tape base off dry hair takes the surface layer with it, and that damage shows up as a thin patch exactly where the next row needs to sit.
Hair carries a limited number of install and removal cycles before the section thins enough to change the plan. The honest approach is to record the date of every fitting and removal, then reduce the row count or move the row position when the record shows the section is not recovering between appointments.
For a factory, the equivalent discipline is specification consistency: the same finished weight per row, the same seam height, the same cut-edge treatment on every batch, so that the installer’s tension plan keeps working across reorders. That is the part of quality a client cannot see in a photograph, and it is the part that decides whether the third fitting goes as smoothly as the first.
Editorial update: 6 November 2026. Installation and removal guidance; confirm the specification and commercial terms for your exact order.
For buyers sourcing at volume, this topic sits alongside the practical detail on our wholesale hair extensions page: the thirteen methods we manufacture, trade pricing and minimum order.