 Skip to content
Mastering DIY: Installing Tape-In Hair Extensions Yourself
Yes, you can install tape-in extensions1 yourself, and while it can be challenging at first, it becomes easier with practice. To apply them, you'll need to start with clean, dry hair, section it, and then "sandwich" a thin layer of your natural hair between two tape-in wefts, carefully pressing them together. As someone who has navigated through both the exhilarating highs and frustrating lows of DIY hair extensions2, I'm here to guide you through the process, ensuring that even your first attempt can yield salon-worthy results.
Can I Put Tape-In Extensions Myself?
Dive Deeper into DIY Extensions
Navigating the world of tape-in hair extensions on your own can initially seem like a daunting task, but trust me, it's far from impossible. The beauty of tape-in extensions1 is their versatility and natural look. When I first embarked on my tape-in extension journey, I found that starting with a plan was crucial. Here's what you need to do:
- Prepare Your Hair: Make sure your hair is freshly washed and completely dried. Any oil or moisture can compromise the adhesive's effectiveness.
- Section Precisely: Use a comb to create clean, horizontal sections. You’ll want to start at the nape and work your way upward.
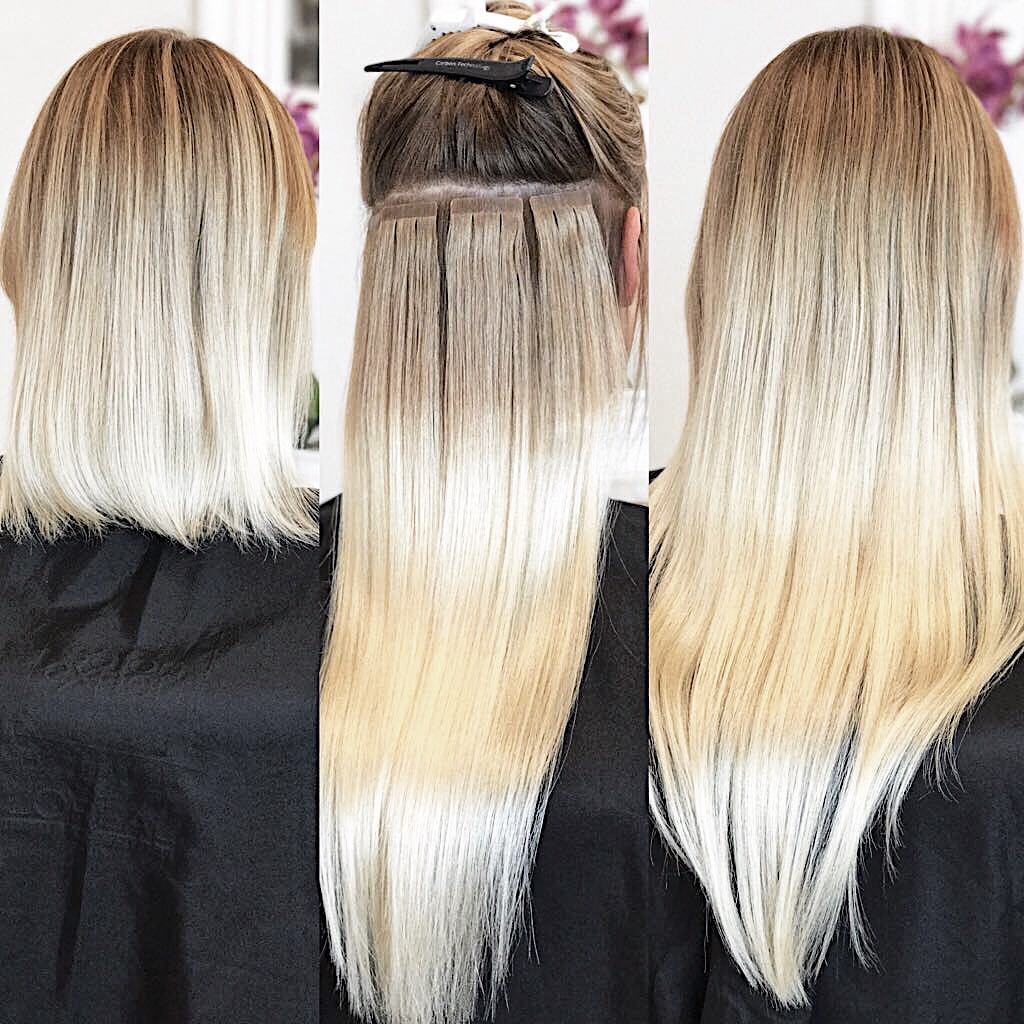
- The Sandwich Technique: Here’s the magic step: take a small section of your hair and place it between two extension wefts. Firmly press the wefts together to ensure they're secure.
- Precision and Patience: It might take a few tries to get the placement just right, but patience pays off.
Pro Tip:
Start with a few practice pieces to get comfortable with the process before committing to your entire head. This way, you can troubleshoot without the pressure of a full-head extension job on the line.

What Are the Easiest Extensions to Put in Yourself?
Discover Simplicity with the Right Extensions
If you're new to the world of DIY extensions3, you might be wondering which types are the simplest to apply. Clip-in extensions are often hailed as the most beginner-friendly, but tape-ins aren't too far behind when done with care.
Comparison Table: Extensions You Can DIY
| Extension Type | Ease of Use | Longevity | Best For |
|---|---|---|---|
| Clip-Ins | High | Moderate | Quick Styles |
| Tape-Ins | Moderate | High | Seamless Look |
| Halo | High | Moderate | Instant Volume |
| Microbeads | Low | Very High | Professional Use |
Given their seamless finish and longevity, tape-in extensions1 strike a balance between ease of start and rewarding finish, making them a favorite of DIY enthusiasts willing to invest some time upfront.
Did You Know?
Tape-in extensions are often considered less damaging than other semi-permanent methods because they distribute weight more evenly across your natural hair.
What is the Newest Hair Extension Method?
Stay Ahead with Innovative Techniques
The hair industry continues to innovate, and staying updated with the latest trends can elevate your extension game. The newest method catching everyone's eye is the seamless glass hair extension4. Unlike traditional tape-ins, these extensions feature an invisible tape5, offering a near-undetectable attachment.
Key Features of Glass Hair Extensions:
- Invisible Tape: The transparency ensures a seamless blend with your natural hair.
- Enhanced Durability: Thanks to improved adhesive properties, they last longer and remain secure.
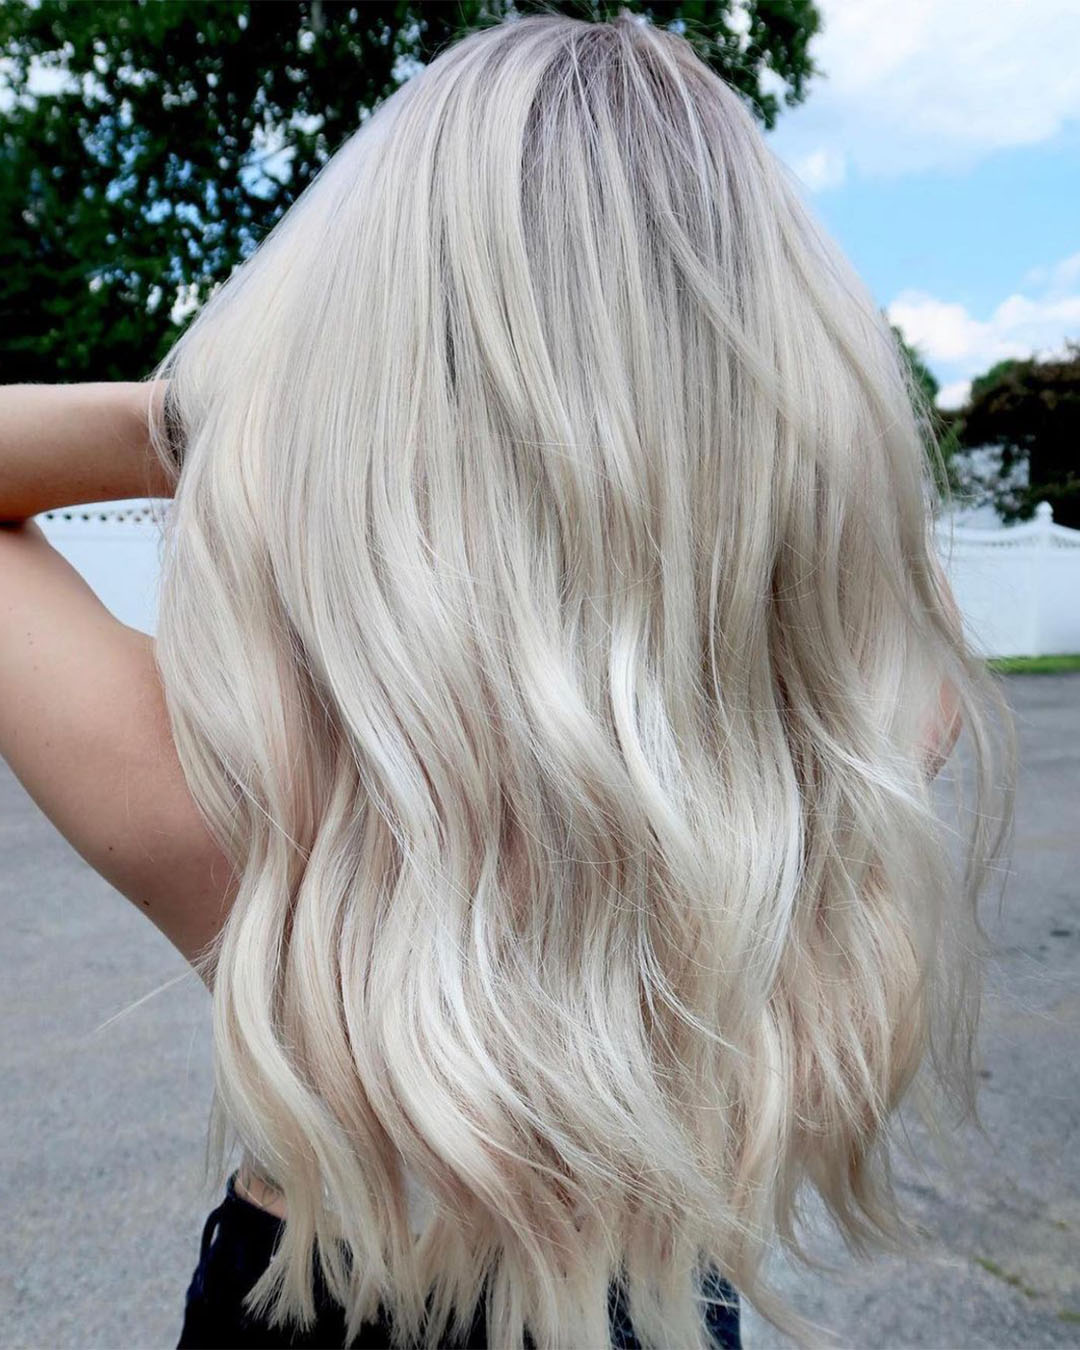
Before and After: The Impact of Innovation
Imagine transitioning from slightly uneven, albeit stunning, results of regular tape-ins to the polished, ethereal finish of glass hair extensions. For me, experiencing both was like moving from artist's sketch to masterpiece.
How to Sleep with Tape-In Extensions?
Protect Your Extensions Overnight
With your tape-in extensions1 snug and securely in place, the next big question is, "How do I sleep with them without causing damage?" This was one of my main concerns in the beginning, but simple adjustments can significantly prolong the life of your extensions.
- Braid It Up: Before heading to bed, loosely braid your hair to prevent tangling.
- Silk is Key: A silk pillowcase6 is a game-changer. Not only does it reduce friction, but it keeps your hair smooth and free of static.
- Night Cap: Consider a silk sleeping cap for extra protection, especially if you're an active sleeper.
Expert Insights:
Avoid using any oils or conditioners near the tape bonds overnight to maintain their adhesive quality.
Conclusion: Why DIY Extensions are Worth the Effort
Embracing the challenge of installing tape-in extensions1 yourself can be incredibly rewarding. Not only do you gain a luxurious mane with a seamless finish, but you also learn the ropes of a valuable skill, all while saving a trip to the salon. While mastering this technique requires patience, the confidence boost from DIY accomplishments is well worth the effort. Ready to transform your hair game? Dive into the world of tape-in extensions1 and enjoy the beautiful journey.
For those of you looking to source top-tier extensions, Plucharm Hair offers incredible options that guarantee quality and consistency, ensuring your DIY venture is a resounding success.
With practice and the right tools, you’re just a step away from professional-grade hair transformations—all from the comfort of your home.
-
Explore this link to understand the benefits and application of tape-in extensions for a seamless look. ↩ ↩ ↩ ↩ ↩ ↩
-
This resource will guide you through the DIY process, ensuring you achieve salon-quality results at home. ↩
-
Discover the easiest extensions to apply yourself, perfect for those new to the DIY hair game. ↩
-
Find out about this innovative extension method that offers a flawless blend with your natural hair. ↩
-
Explore how invisible tape enhances the look and feel of hair extensions for a natural appearance. ↩
-
Learn why switching to a silk pillowcase can protect your extensions and improve hair health. ↩

